Start Importing
If you have not already connected your AWeber account with MillionVerifier, click here to learn how you can do it.
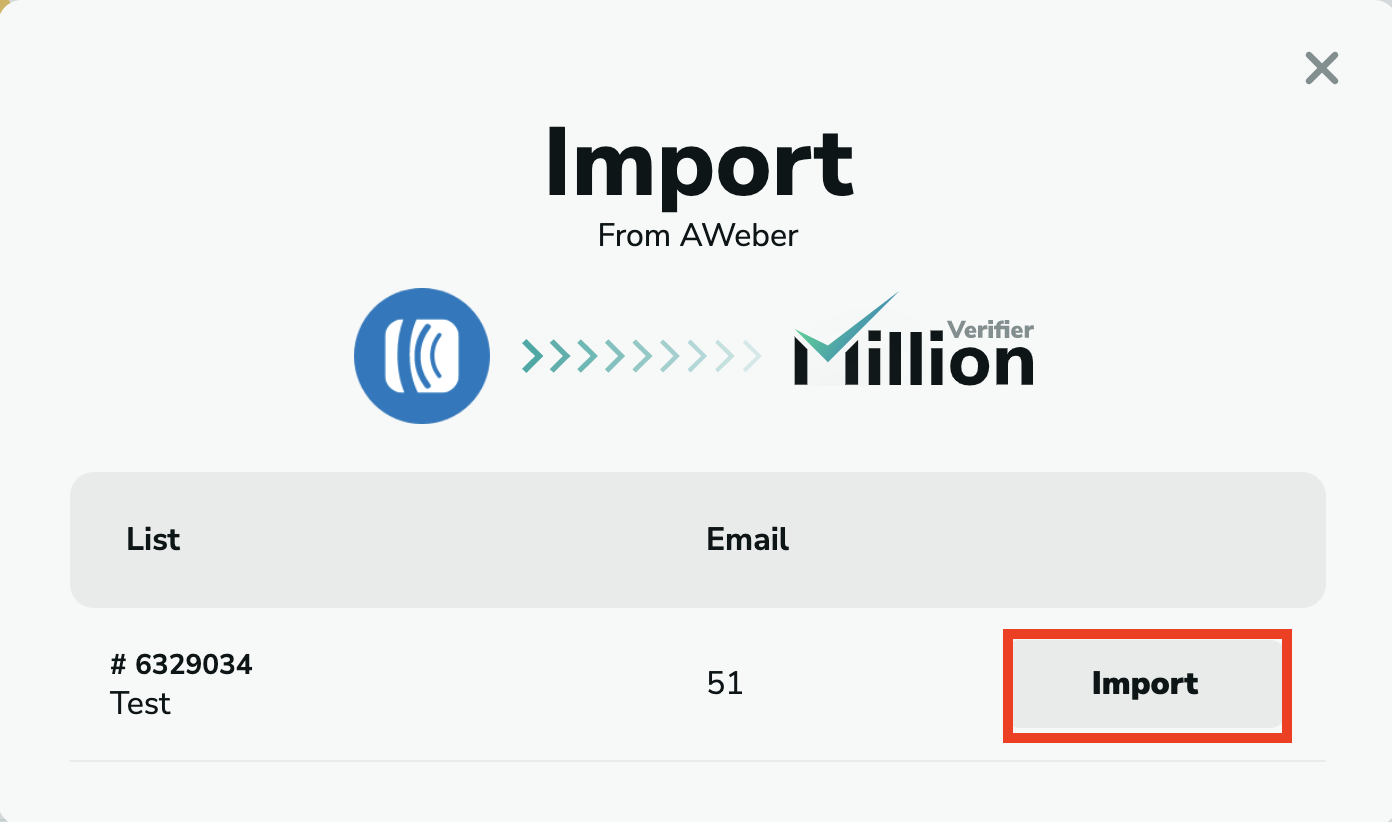
Once you connected AWeber with MillionVerifier and clicked on the "Verify button", a pop-up will show your lists and the number of emails contained in them. In order to start the verification, click on "Import".
By clicking on the “Import” button, you will see the number of detected emails and can start the verification.
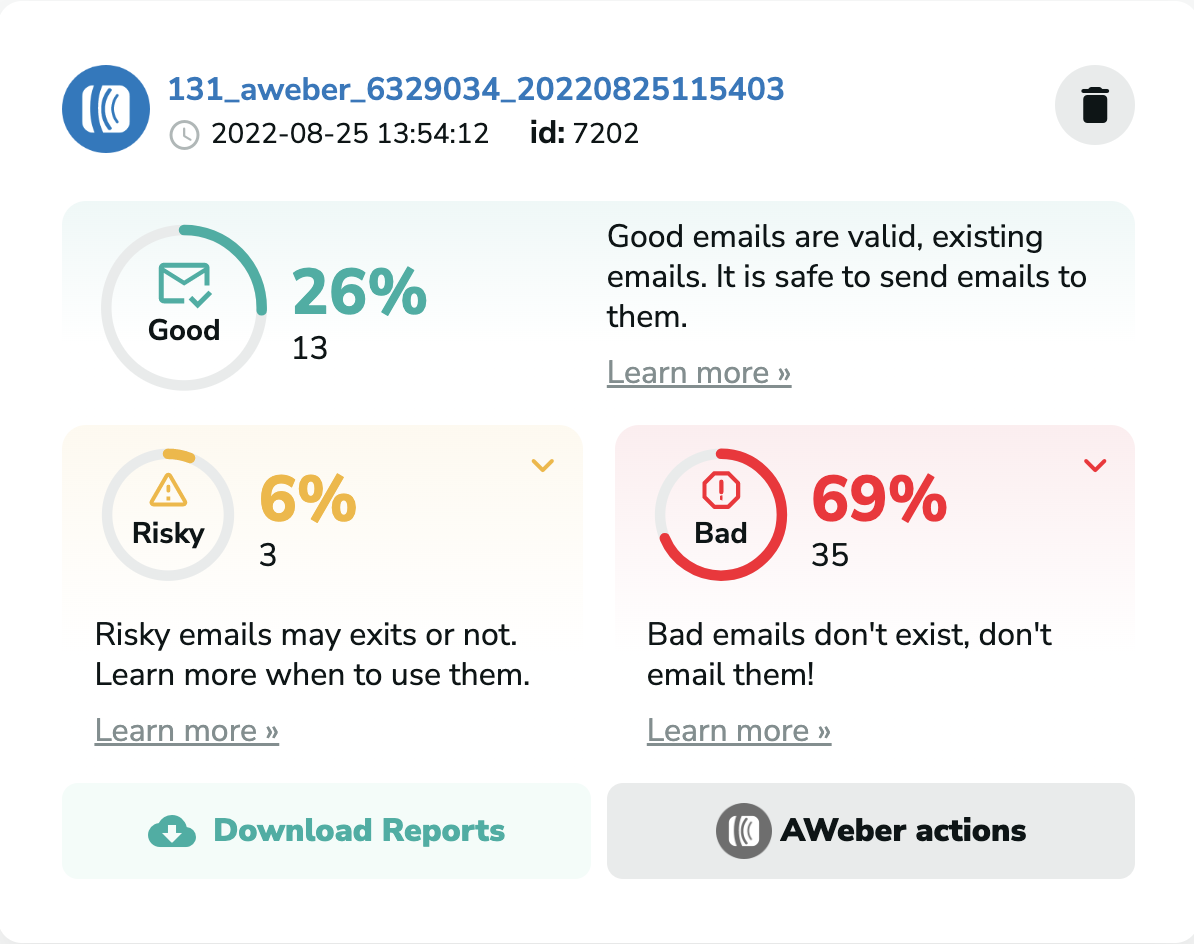
After the verification is completed, you will see the number and percentage of Good, Risky, and Bad emails on your list. To learn more about the Email Verification Results, please click here.
You have to pay with one credit for each one of the emails on your list to verify. To buy credits, please click here.
To calculate the best offer for you based on your number of emails, please click here.
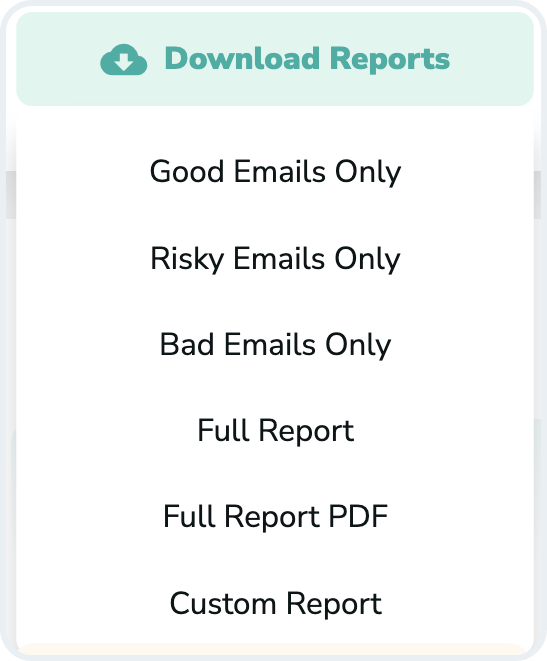
You can download the results when the verification is done by clicking on “Download Reports.”
Take action in AWeber
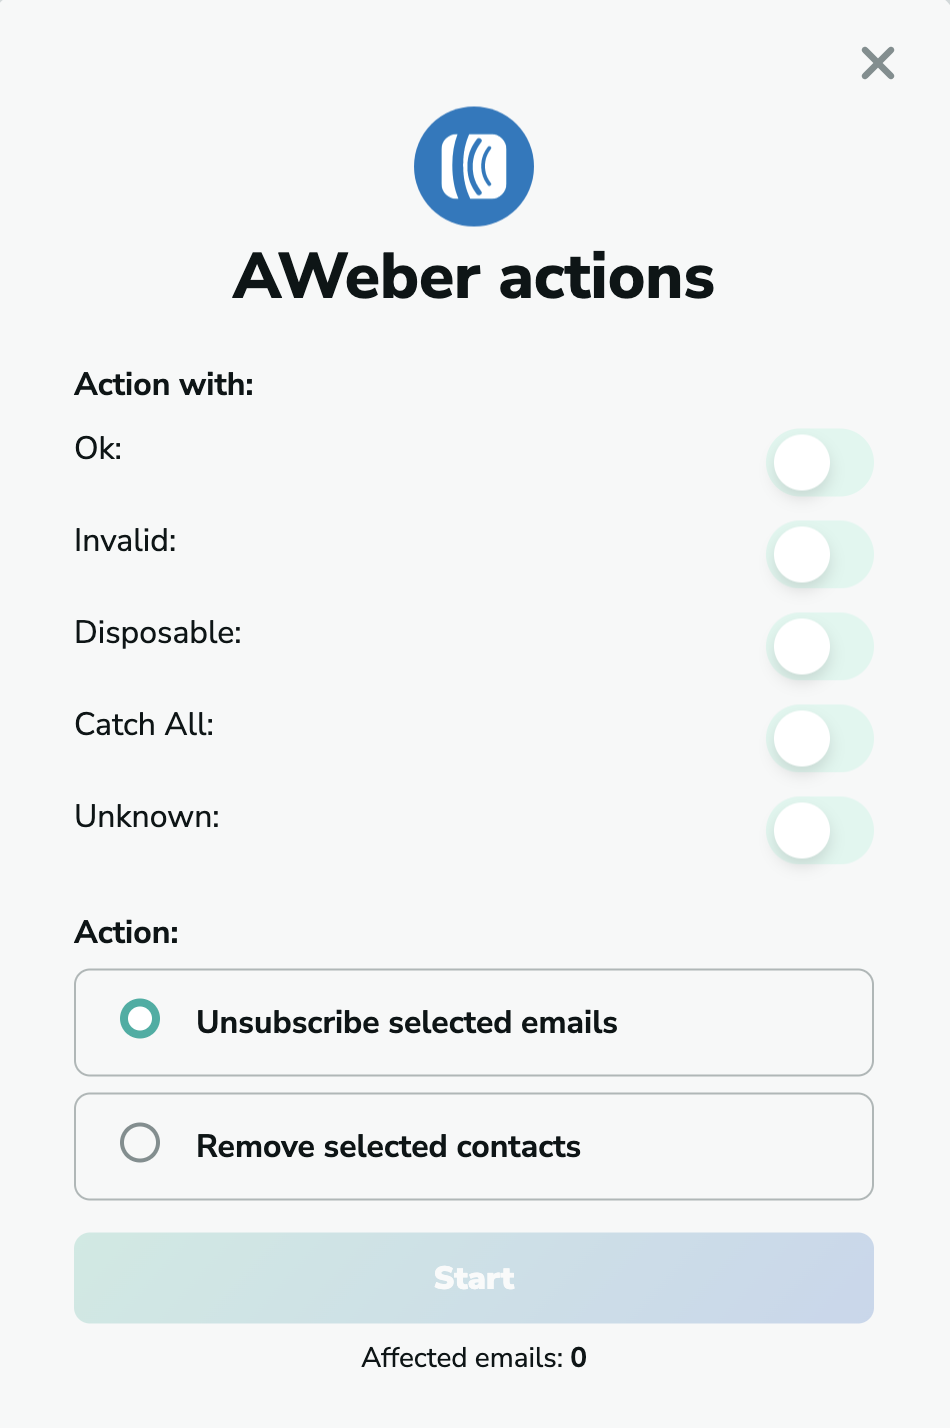
When the verification is complete, you will have the opportunity to carry out different actions in your AWeber contact list. To select from these options, click on the “AWeber actions” button.
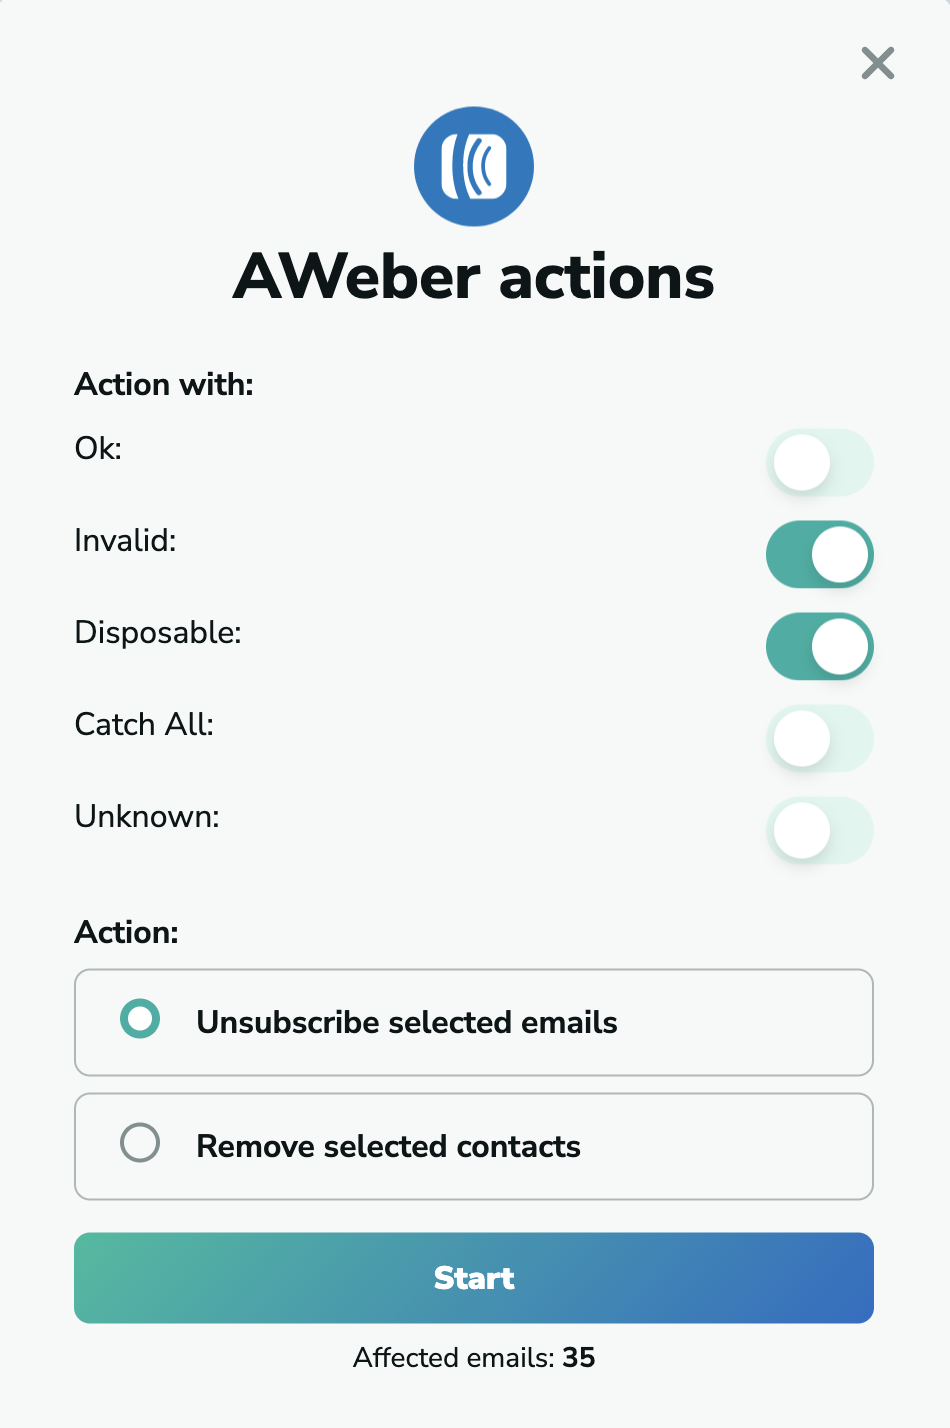
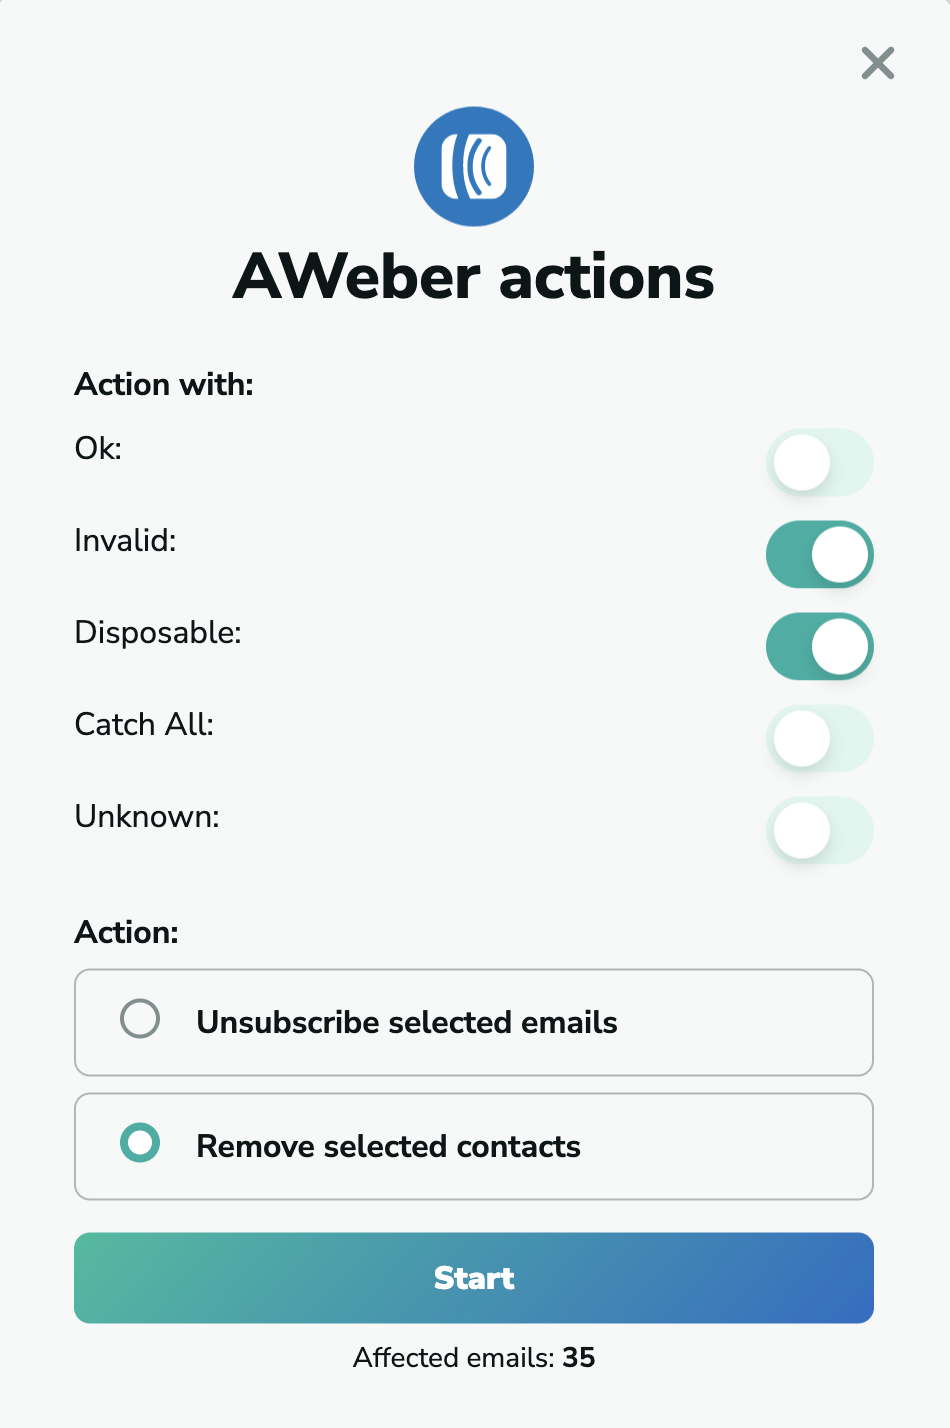
Here, you can select the type of emails you wish to carry out actions with, and the action you desire to take with them. Only one action can be set at a time. However, after the completion, you can choose another one again.
Unsubscribe selected emails
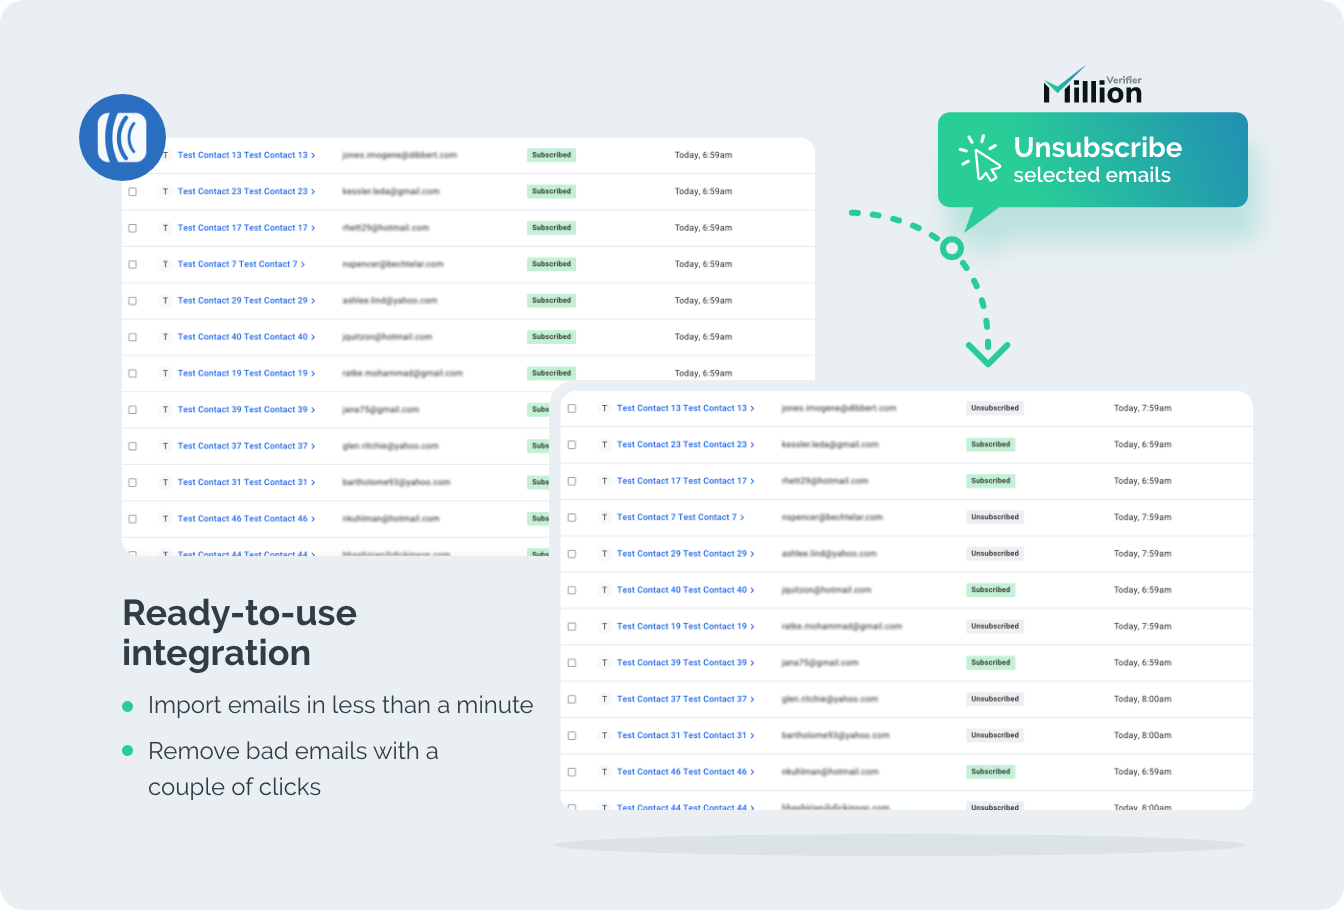
If you choose the “Unsubscribe selected emails” action, all the selected emails you have chosen will be unsubscribed for you once you click on “Start.”
Remove selected contacts
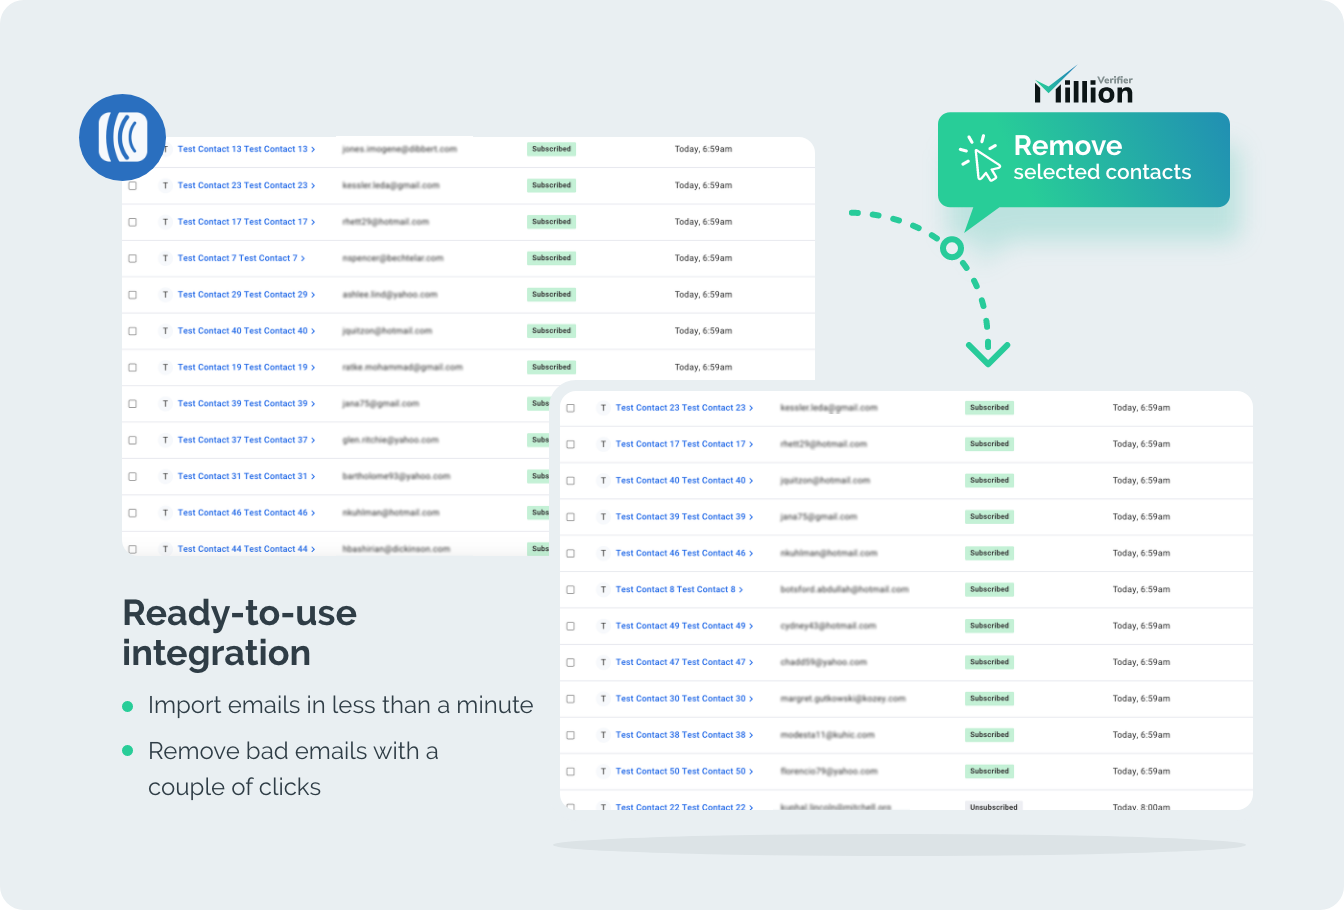
If you wish to remove the contacts from your list, please select the “Remove selected contacts” action. All the selected contacts will be deleted for you.
To learn about how you can delete the integration, please click here.
